Family diagrams & maps
Look closely, follow a familiar face, and read the accounts behind the pictures. Dates and identifications are kept as supplied; unknown details are left open.
 View photograph ↗
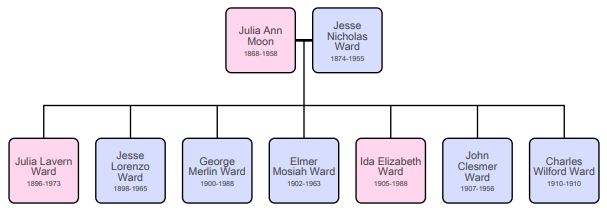
Family diagram from Jesse Nicholas Ward & Julia Ann Moon
Names and further details have not been identified in the original caption.
From: Jesse Nicholas Ward & Julia Ann Moon ↗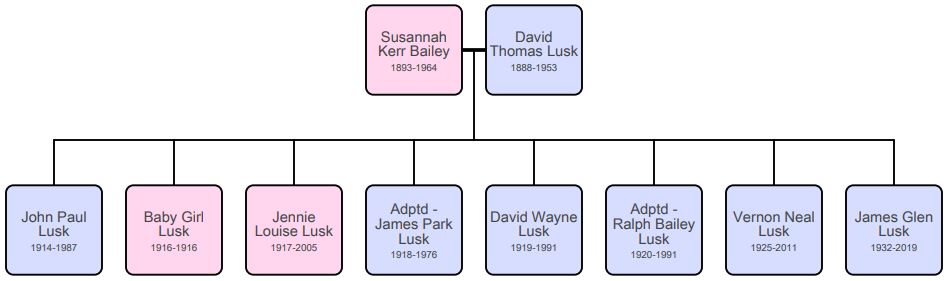 View photograph ↗
Family diagram from David Thomas Lusk & Susannah Bailey
Names and further details have not been identified in the original caption.
From: David Thomas Lusk & Susannah Bailey ↗ View photograph ↗
Family diagram from Edward "Park" Lusk & Erma Bailey
Names and further details have not been identified in the original caption.
From: Edward "Park" Lusk & Erma Bailey ↗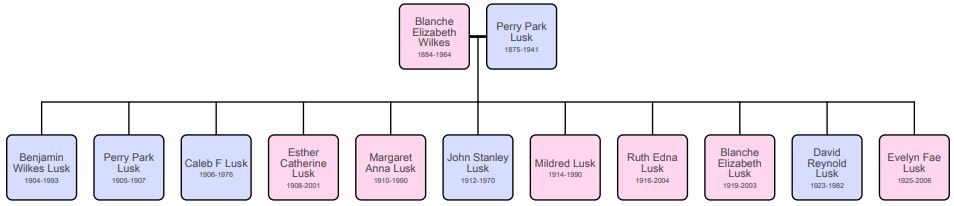 View photograph ↗
Family diagram from Perry Park Lusk
Names and further details have not been identified in the original caption.
From: Perry Park Lusk ↗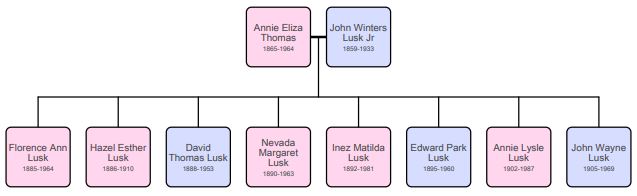 View photograph ↗
Family diagram from John Winters Lusk Jr. & Anna Eliza Thomas
Names and further details have not been identified in the original caption.
From: John Winters Lusk Jr. & Anna Eliza Thomas ↗ View photograph ↗
Family diagram from George Willard Bradley & Ella Canote Miller
Names and further details have not been identified in the original caption.
From: George Willard Bradley & Ella Canote Miller ↗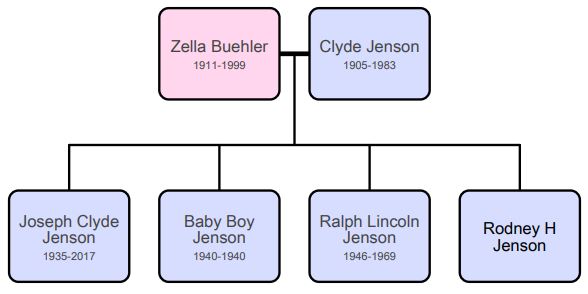 View photograph ↗
Family diagram from Clyde Jenson
Names and further details have not been identified in the original caption.
From: Clyde Jenson ↗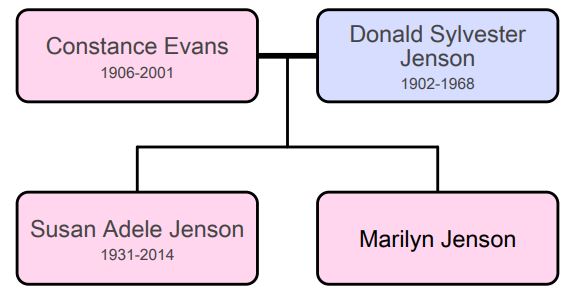 View photograph ↗
Family diagram from Don Jenson
Names and further details have not been identified in the original caption.
From: Don Jenson ↗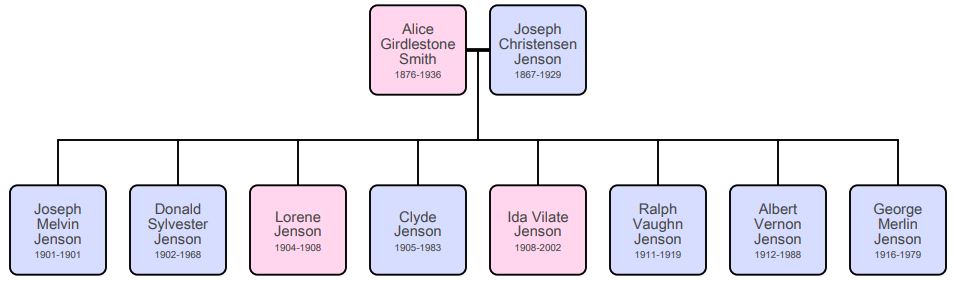 View photograph ↗
Family diagram from Joseph Christensen Jenson
Names and further details have not been identified in the original caption.
From: Joseph Christensen Jenson ↗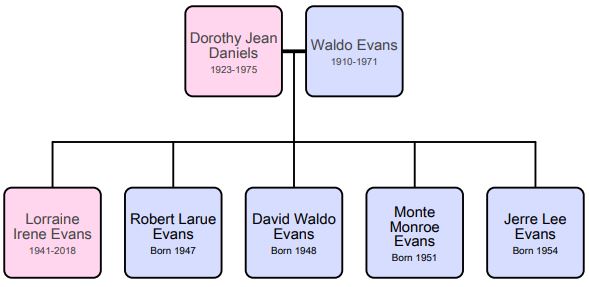 View photograph ↗
Family diagram from Waldo Evans
Names and further details have not been identified in the original caption.
From: Waldo Evans ↗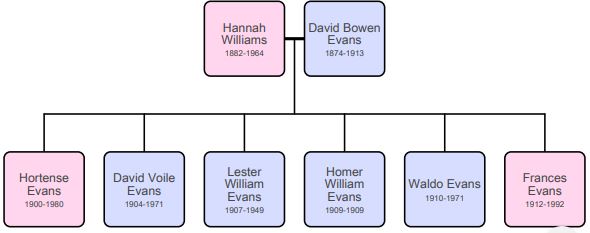 View photograph ↗
Family diagram from David Bowen Evans & Hannah Williams
Names and further details have not been identified in the original caption.
From: David Bowen Evans & Hannah Williams ↗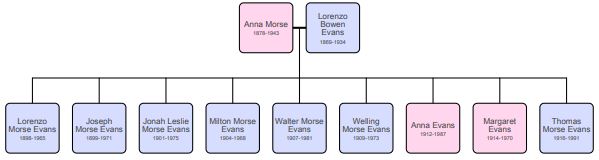 View photograph ↗
Family diagram from Lorenzo Bowen Evans & Anna Morse
Names and further details have not been identified in the original caption.
From: Lorenzo Bowen Evans & Anna Morse ↗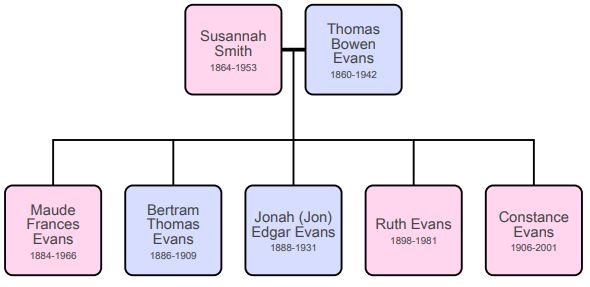 View photograph ↗
Family diagram from Thomas Bowen Evans & Susannah Smith
Names and further details have not been identified in the original caption.
From: Thomas Bowen Evans & Susannah Smith ↗ View photograph ↗
Family diagram from Eddie Arbon Davis & Rosa May Mathews
Names and further details have not been identified in the original caption.
From: Eddie Arbon Davis & Rosa May Mathews ↗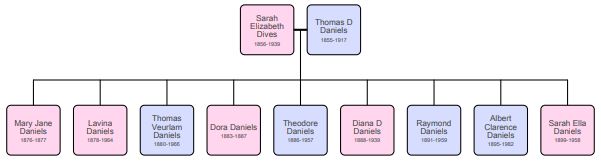 View photograph ↗
Family diagram from Thomas Daniels
Names and further details have not been identified in the original caption.
From: Thomas Daniels ↗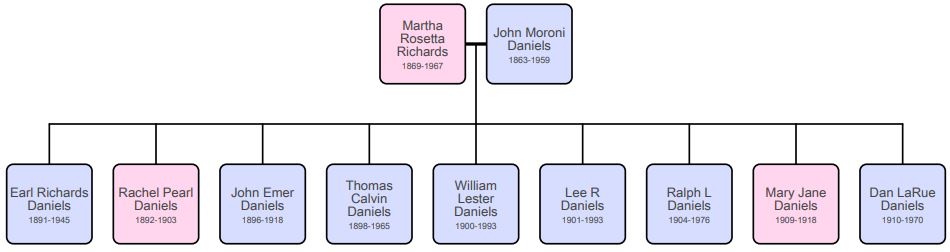 View photograph ↗
Family diagram from John Moroni Daniels (Donum)
Names and further details have not been identified in the original caption.
From: John Moroni Daniels (Donum) ↗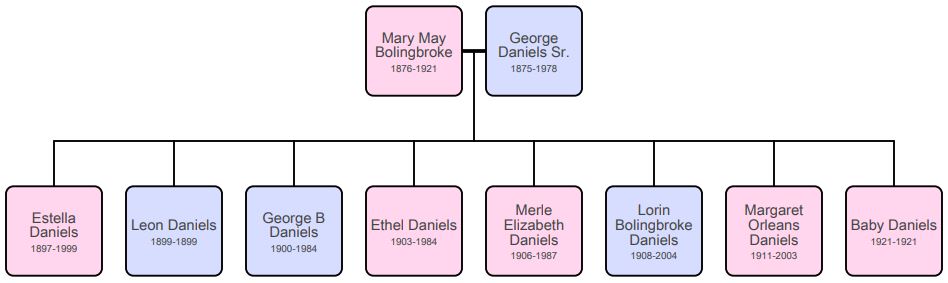 View photograph ↗
Family diagram from George Daniels Sr.
Names and further details have not been identified in the original caption.
From: George Daniels Sr. ↗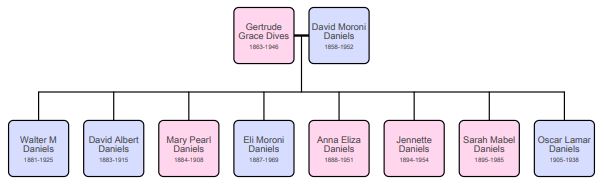 View photograph ↗
Family diagram from David Moroni Daniels
Names and further details have not been identified in the original caption.
From: David Moroni Daniels ↗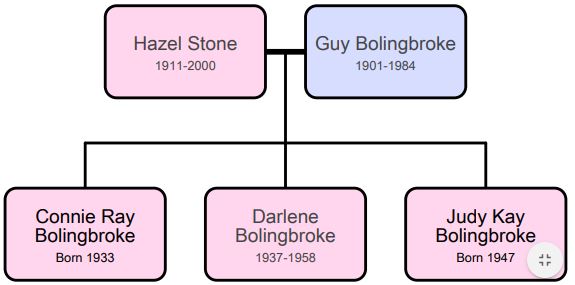 View photograph ↗
Family diagram from Guy Bolingbroke
Names and further details have not been identified in the original caption.
From: Guy Bolingbroke ↗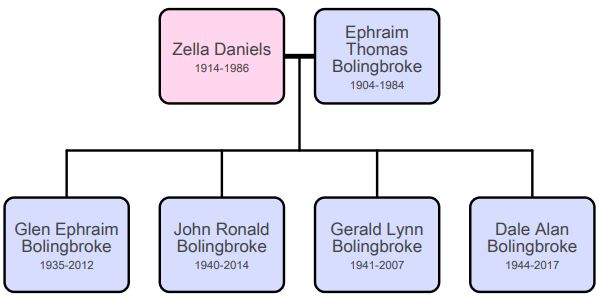 View photograph ↗
Family diagram from Ephraim Thomas Bolingbroke
Names and further details have not been identified in the original caption.
From: Ephraim Thomas Bolingbroke ↗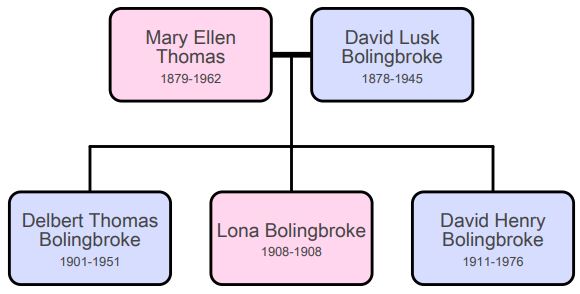 View photograph ↗
Family diagram from David Lusk Bolingbroke
Names and further details have not been identified in the original caption.
From: David Lusk Bolingbroke ↗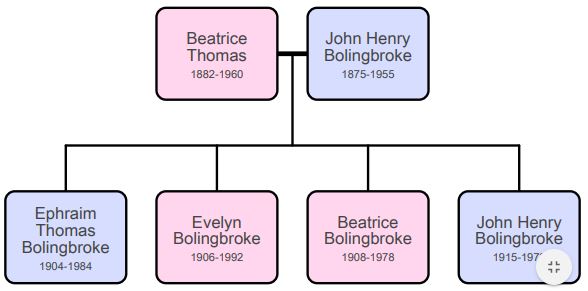 View photograph ↗
Family diagram from John Henry Bolingbroke
Names and further details have not been identified in the original caption.
From: John Henry Bolingbroke ↗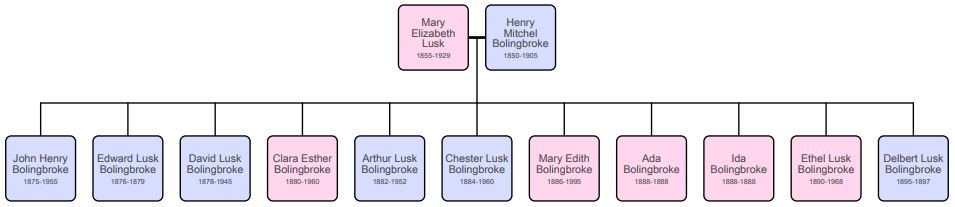 View photograph ↗
Family diagram from Henry Mitchel Bolingbroke
Names and further details have not been identified in the original caption.
From: Henry Mitchel Bolingbroke ↗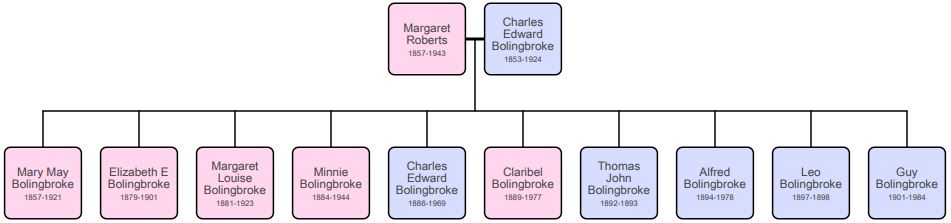 View photograph ↗
Family diagram from Charles Bolingbroke
Names and further details have not been identified in the original caption.
From: Charles Bolingbroke ↗ View photograph ↗
Family diagram from Lorenzo H. Bailey
Names and further details have not been identified in the original caption.
From: Lorenzo H. Bailey ↗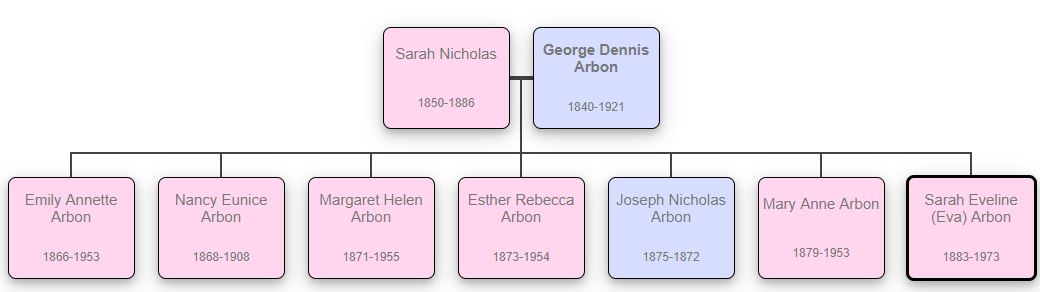 View photograph ↗
Family diagram from George Dennis Arbon
Names and further details have not been identified in the original caption.
From: George Dennis Arbon ↗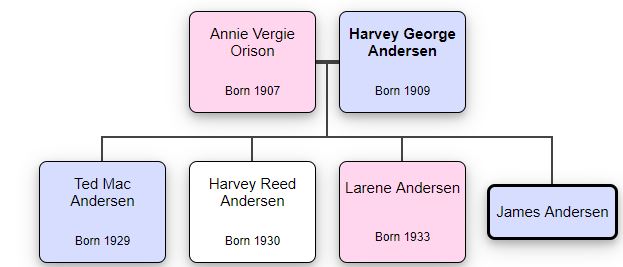 View photograph ↗
Family diagram from Harvey George Andersen
Names and further details have not been identified in the original caption.
From: Harvey George Andersen ↗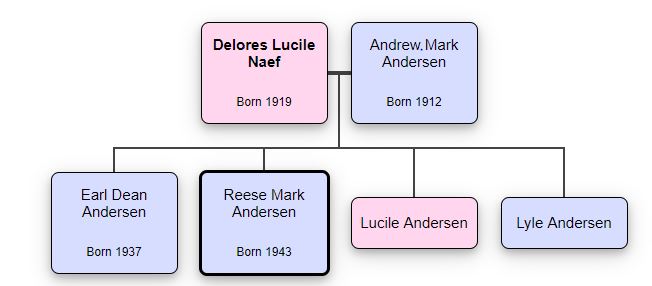 View photograph ↗
Family diagram from A. Mark Andersen
Names and further details have not been identified in the original caption.
From: A. Mark Andersen ↗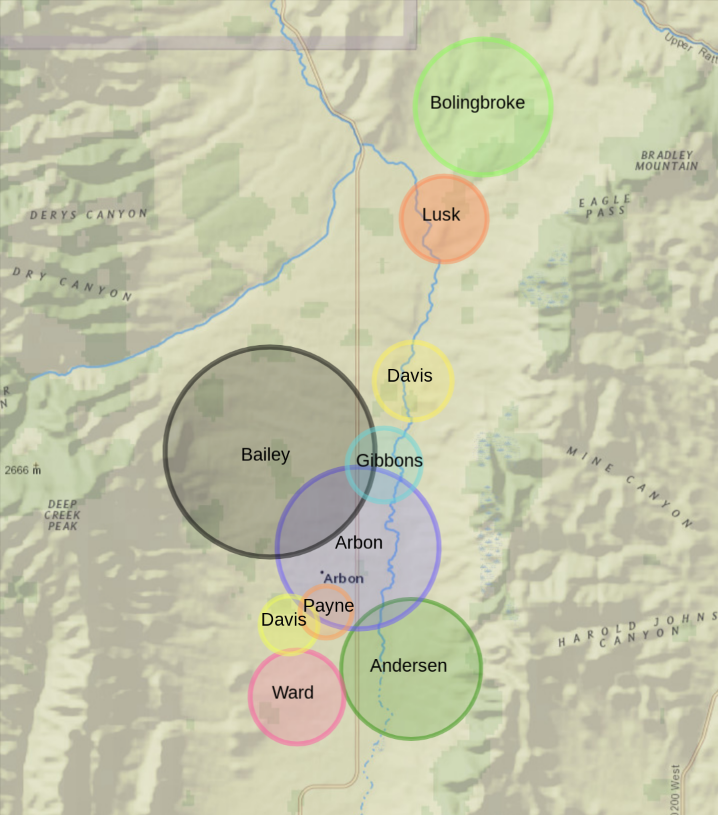 View photograph ↗
The original homesteading families map
Names and further details have not been identified in the original caption.
From: Families ↗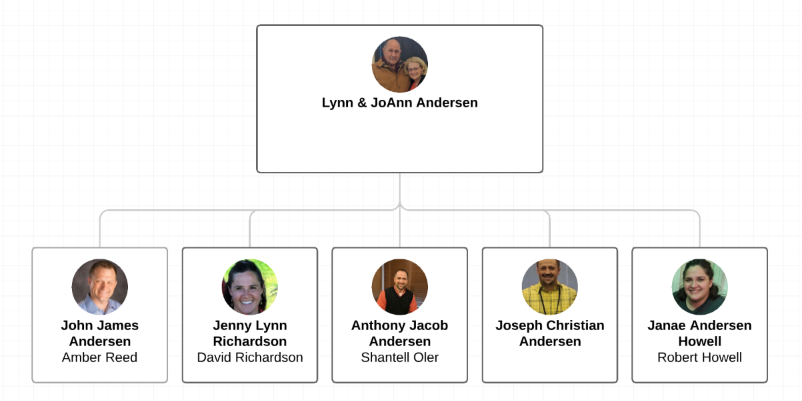 View photograph ↗
Family diagram from Lynn & JoAnn Andersen
Names and further details have not been identified in the original caption.
From: Lynn & JoAnn Andersen ↗ View photograph ↗
Family diagram from Willard & Mamie Andersen
Names and further details have not been identified in the original caption.
From: Willard & Mamie Andersen ↗ View photograph ↗
Family diagram from John C. & DeSena Andersen
Names and further details have not been identified in the original caption.
From: John C. & DeSena Andersen ↗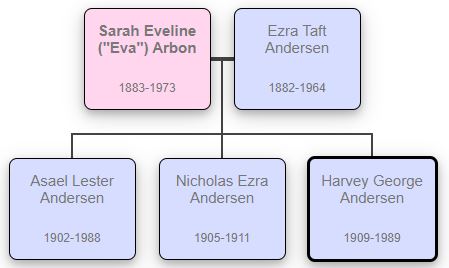 View photograph ↗
Family diagram from Ezra Taft Andersen & Sarah Eveline "Eva" Arbon
Names and further details have not been identified in the original caption.
From: Ezra Taft Andersen & Sarah Eveline "Eva" Arbon ↗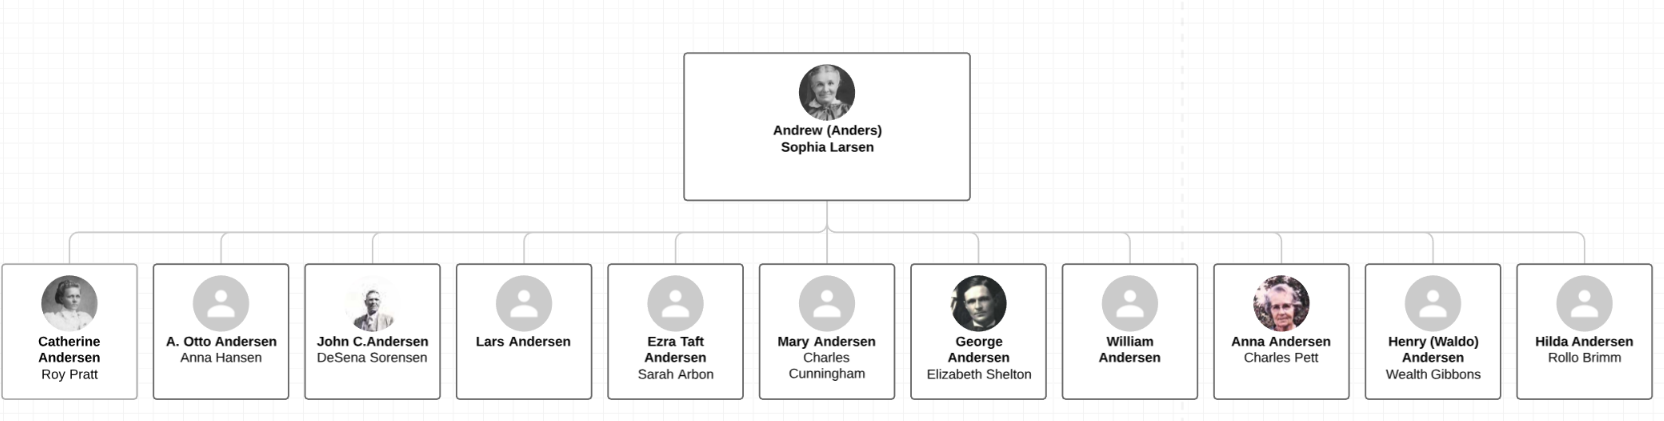 View photograph ↗
Family diagram from Andrew & Sophia Andersen
Names and further details have not been identified in the original caption.
From: Andrew & Sophia Andersen ↗